


(0)1622 589 999

info@allfloorstradecenter.co.uk

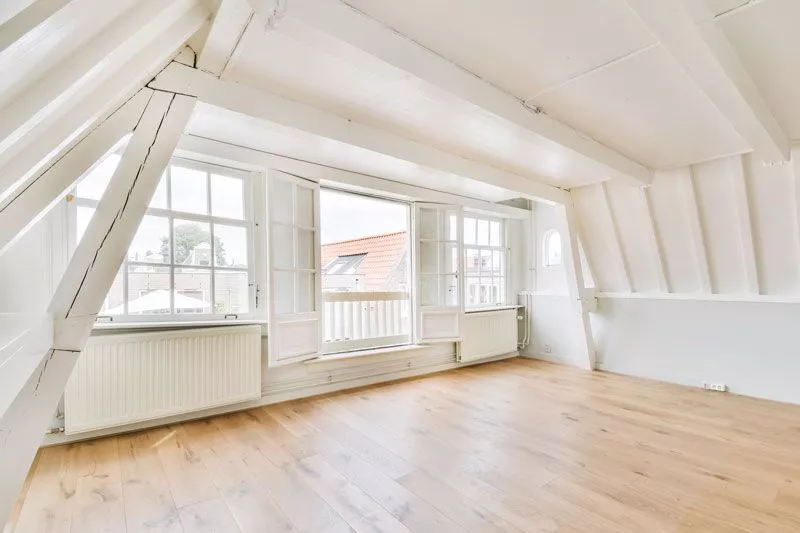
Fitting LVT flooring can either be done by yourself or with professional help, depending on the site and the type of LVT flooring. However, it might be a bit challenging.
So, if you’re having a hard time figuring out how to install LVT flooring, this guide should make things easier for you. We’ll walk you through the process, provide tips on fitting the tiles in different rooms, and more!
Before installing LVT flooring, you need to measure your room to find out how many LVTs you need. Take measurements with a tape measure and write them down on a piece of paper before ordering the tiles.
Moreover, you need to check the installation costs to make sure that the whole thing is within your budget.
LVT flooring costs around £45 per metre square in the UK. However, there are various variables that affect the cost, like supplier and flooring quality.
It’s also important that you familiarise yourself with LVT's pros and cons. The main advantages of LVT are easy maintenance, durability, heat fluctuation resistance, and of course, the natural look and feel. It’s super simple to install, too.
The downside is that LVT is prone to discolouration. It’s also difficult to uninstall if glued down.

Here are all the tools required to fit luxury vinyl tiles:
There are three primary types of LVT flooring fitting methods: click/lock, glue-down, and loose lay.
Click or lock LVT flooring integrates a tongue and groove system that’s used to join the tiles together. This is the easiest type of LVT flooring to install. It’s pretty easy to uninstall as well.
Additionally, there’s a newer type of click LVT flooring called the Valingr 5G click system flooring. It features a better lock mechanism, providing improved stability.
On the other hand, glue-down LVT flooring requires adhesive materials for installation. The tile thickness is noticeably thinner than lock LVT flooring, meaning that glue-down LVTs are more strict when it comes to subfloor uniformness and preparation.
Loose lay LVTs are super simple to install. They don’t use a lock system, nor do they require special adhesive materials. All you have to do is lay them in place, making them easy to install and uninstall without requiring professional help.
This is made possible with a bottom layer featuring a high friction coefficient, allowing it to grip the subfloor more effectively.
To fit luxury vinyl tiles properly, follow these steps:
6. Lay the vinyl tiles: For click and loose-lay types, you don’t need adhesive. However, with glue-down, a special adhesive material is required.

Here are some tips for a smooth LVT flooring installation in different rooms:
When installing LVT in hallways, it’s good practice to install the tiles lengthwise to make the hallway appear longer. For example, if the LVT flooring extends to other rooms, you might need to cut a 1-inch wide strip down the side of the hallway to fill in along the wall.
LVT flooring has a waterproof top surface that makes it suitable for wet environments like kitchens. However, you need to include expansion cracks along the walls and cover them with trim. This prevents water from finding its way through the outermost sides of the flooring.
Similar to installing LVT in kitchens, it’s important that you make expansion cracks near the walls to make your flooring8 suitable for wet environments like bathrooms.
Additionally, make sure that the toilet flange is flush to the surface of the floor.
When installing LVT in your bedroom, adding an underlayment can be a good idea to improve the room’s sound absorption properties for a good night’s sleep.
LVT flooring is a great option for conservatories because it tolerates temperature fluctuations pretty well. Installing LVT in conservatories is no different than installing it in a room. Still, we recommend choosing more natural-looking LVT tiles for conservatories.
There’s no right or wrong way to lay vinyl plank flooring as it depends on the shape of your house. As a general rule of thumb, try to make the floor direction parallel to the long walls in all of your house’s rooms. However, for long hallways, you don’t need to do that.
As for transitions, you’d want to maintain a 1 ⅛ inches gap between one of the two halves of the transition to connect the flooring to the metal tracks. Any less than that, and you’re risking a strip that won’t fit.
Just make sure you install the tracks before laying the floor, not after.
While it’s not mandatory, installing underlayment for your LVT flooring is definitely recommended. Underlayment does a great job at absorbing sounds.
It’s also worth mentioning that you don’t need a specific subfloor type to install underlayment; it can be beneficial for all subfloors, including wood, concrete, and others.
That was everything you needed to know about fitting LVT flooring.
LVT flooring installation is pretty simple, whether you opt for installation service or do it yourself. You’re basically getting yourself one of the best modern flooring solutions for residential and commercial use.
So what are you waiting for? Order your preferred LVT tiles and get them fitted right away!