


(0)1622 589 999

info@allfloorstradecenter.co.uk

Luxury vinyl tiles (LVT) are a relatively recent type of flooring that quickly became a favourite among many homeowners, thanks to their ability to replicate classic hardwood designs in an elegant fashion with the benefits of modern technology, such as affordability and better protection.
However, like all floors, LVTs will get damaged and dirty if you don’t properly care for them, especially in high-traffic areas or if they face a lot of abuse (e.g., from kids or pets).
So if you want to keep your LVT floors looking clean and elegant, read on for our full guide on LVT flooring maintenance!
Fortunately, LVT flooring care and maintenance are easier than traditional hardwood or stone-based floors, thanks to the protective urethane layer applied on top of the tiles.
However, you shouldn’t over-rely on that urethane layer as it can only absorb so much shock before it wears out.
You should also be careful about what you use to clean your LVT floors, as using the wrong chemical can damage that protective layer or fade the print pattern on your tiles.
Don’t worry; we’ll cover all these points and more in this LVT care and maintenance guide.
In this guide, we’ll go over tips for basic cleaning, deep cleaning, day-to-day LVT maintenance, and more! Stick around till the end for more on LVT care and what to avoid!
Of course, it’s unreasonable to deep clean your LVT floors daily. So let’s start with some more basic, everyday cleaning tips.
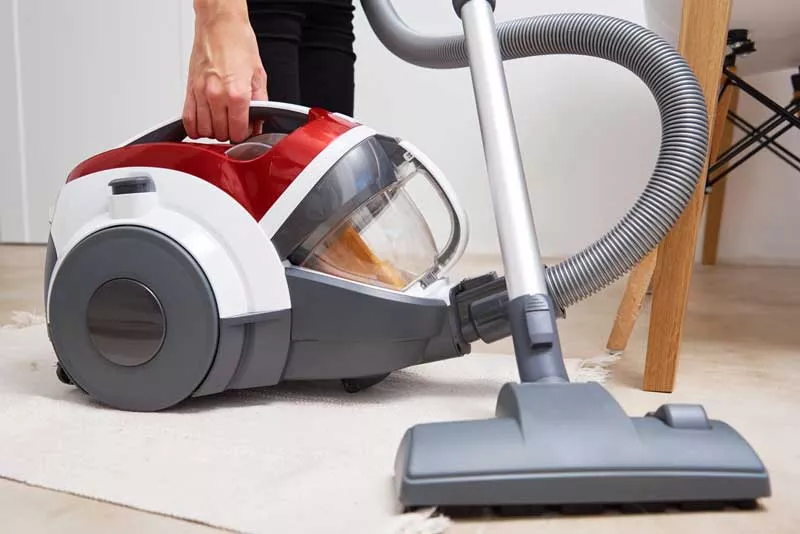
Most simple methods you’d use to clean any type of flooring will suffice for simple LVT board cleaning. That includes brooms, vacuum cleaners, and dust mops to eliminate dirt and debris. Keeping your floors free from debris is the best way to avoid scratches as well.
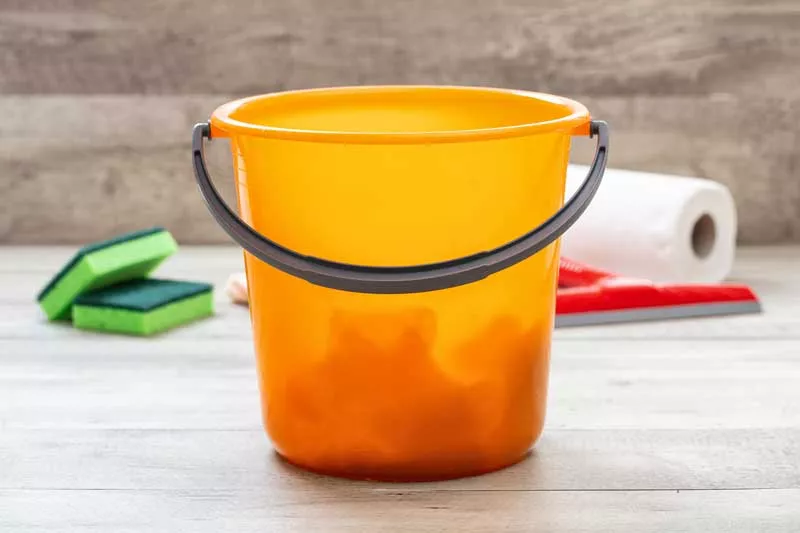
Additionally, you need to tend to spillage stains as soon as possible before they settle in. You can sweep it away using a water bucket and a mop. But if you have the means, we recommend you use a neutral pH cleaning solution. You can also add a bit of baby oil to the bucket for extra gloss.
Follow a basic cleaning routine with your LVT floors to maintain their quality and shine. This doesn’t have to involve tedious cleaning. Instead, a quick sweep every day or two and an occasional mop should be enough to prevent dirt buildup on the floor.
You’ll want to clean spills or leaks immediately to prevent them from staining your floors. Again, you don’t need much effort or equipment, as a simple sweep with water should suffice, but you can add small amounts of apple cider vinegar (about a cup per gallon of water) to remove stubborn stains.
You should treat your LVT floors to a deep clean now and then, especially if they’re stained or discoloured. This can return your floors to their former glory, but you need to do it right.
The key to deep cleaning is to use a strong, neutral cleaner. You can also use hydrogen peroxide to get rid of serious stains, though it’s a bit acidic, so we only recommend it for sporadic use. You can also make your own floor cleaner at home, as we’ll show you by the end.
With one of these cleaners in a bucket, sweep the floor gently with a microfibre mop until the stains are off. Then you can rinse with another bucket of clean water, but don’t flood the floor and make sure to drive off the rinsing water afterwards completely.
Lastly, you can remove scuff marks using WD-40, rubbing alcohol, or, more organically, jojoba oil. Apply the product on the scuff marks, then wipe it gently with a damp towel or cloth.
If there’s some leftover adhesive residue on your LVT floors after installation, you should remove them before they set deeper into the boards.
If the adhesive is still wet or slimy, wipe it off with a cloth soaked in water. Aim for a microfibre cloth, as it’ll be more gentle on your tiles.
However, if the adhesive is dry, you’ll need a stronger cleaner like denatured alcohol or acetone. Don’t use boiling water, no matter how tempting it might be due to ease.
Using the wrong chemicals while cleaning LVT floors can damage the protective urethane layer on top or decolourise the print, which will botch the floor’s appearance.
Here are the chemicals to avoid adding to the floor-cleaning mixture:
Luxury vinyl tiles require a gentle approach. If you choose a harsh or abrasive material or chemical in your cleaning, you’ll leave scuff marks on your floor, and they’ll be nearly impossible to remove.
In addition to the chemicals we listed above, avoid using harsh scrubbers like abrasive sponges and steel wool.
Heat is another big no-no, as it can damage the tiles’ integrity. That means no steam mops or boiling water.

Repairing LVT floors is also much easier than traditional hardwood or stone-based floors. In the worst-case scenario, you can buy a new single tile and replace the damaged one instead of reworking your entire flooring.
But for less severe damage, such as cracks, you can fill them with a good epoxy resin spray and coloured acrylic paint. Mix the two ingredients and fill the cracks, then leave the mix to dry, and your vinyl floor should be level in no time.
Note that you shouldn’t apply acrylic under the luxury vinyl tiles, so use this as a surface-level repair only.
One of the most affordable and convenient ways to protect your LVT boards and extend their lifespan is by adding mats on and around the floor.
Mats outside the house are great for collecting dust, dirt, and sand before it reaches your interior’s LVT.
As for indoor mats, they should have a non-stick bottom that doesn’t leave stains. If possible, go for ones that collect dust and dirt.
Installing glides on your furniture can also extend your LVT’s lifespan by protecting the tiles from scratching and other forms of damage.
And if you’re moving heavy furniture around, don’t drag it across the floor, as that’ll lead to deep indentations.
For the most part, yes, all types of luxury vinyl tiles (click and glue) are waterproof. However, we don’t recommend flooding the floors as that can lead to moisture entrapment under the boards. And over time, this leads to problems with warping and mould growth.
We’re not saying you should avoid water. In fact, you should use it to clean and rinse other chemicals. But don’t pour too much to avoid causing a considerable water buildup, and don’t leave rinsing water for too long.
Here’s an effective LVT floor cleaner you can make with simple home supplies. You’ll need these ingredients:
Although vinegar is quite acidic, we only need to mix one cup per gallon of water, so the acidity is highly diluted, and your LVT boards won’t feel any damage from it. You can also add a few drops of dishwashing soap to increase the mix’s potency.
To remove strong stains, add a tablespoon of baking soda per gallon of water. You can do this in a separate mixture or the same water-vinegar-soap bucket.
That’s all for our LVT floor maintenance guide! Fortunately, the pros to LVT floors is they are easier to clean than their traditional counterparts. And the protective urethane layer does a lot of work here.
Remember to follow a routine with your basic cleaning to keep your floors healthy and full of gloss. Then you can perform a deep clean every once in a while when your tiles look like they need a wash. And avoid chemicals that can damage your LVTs, such as ammonia, chlorine, or acids.